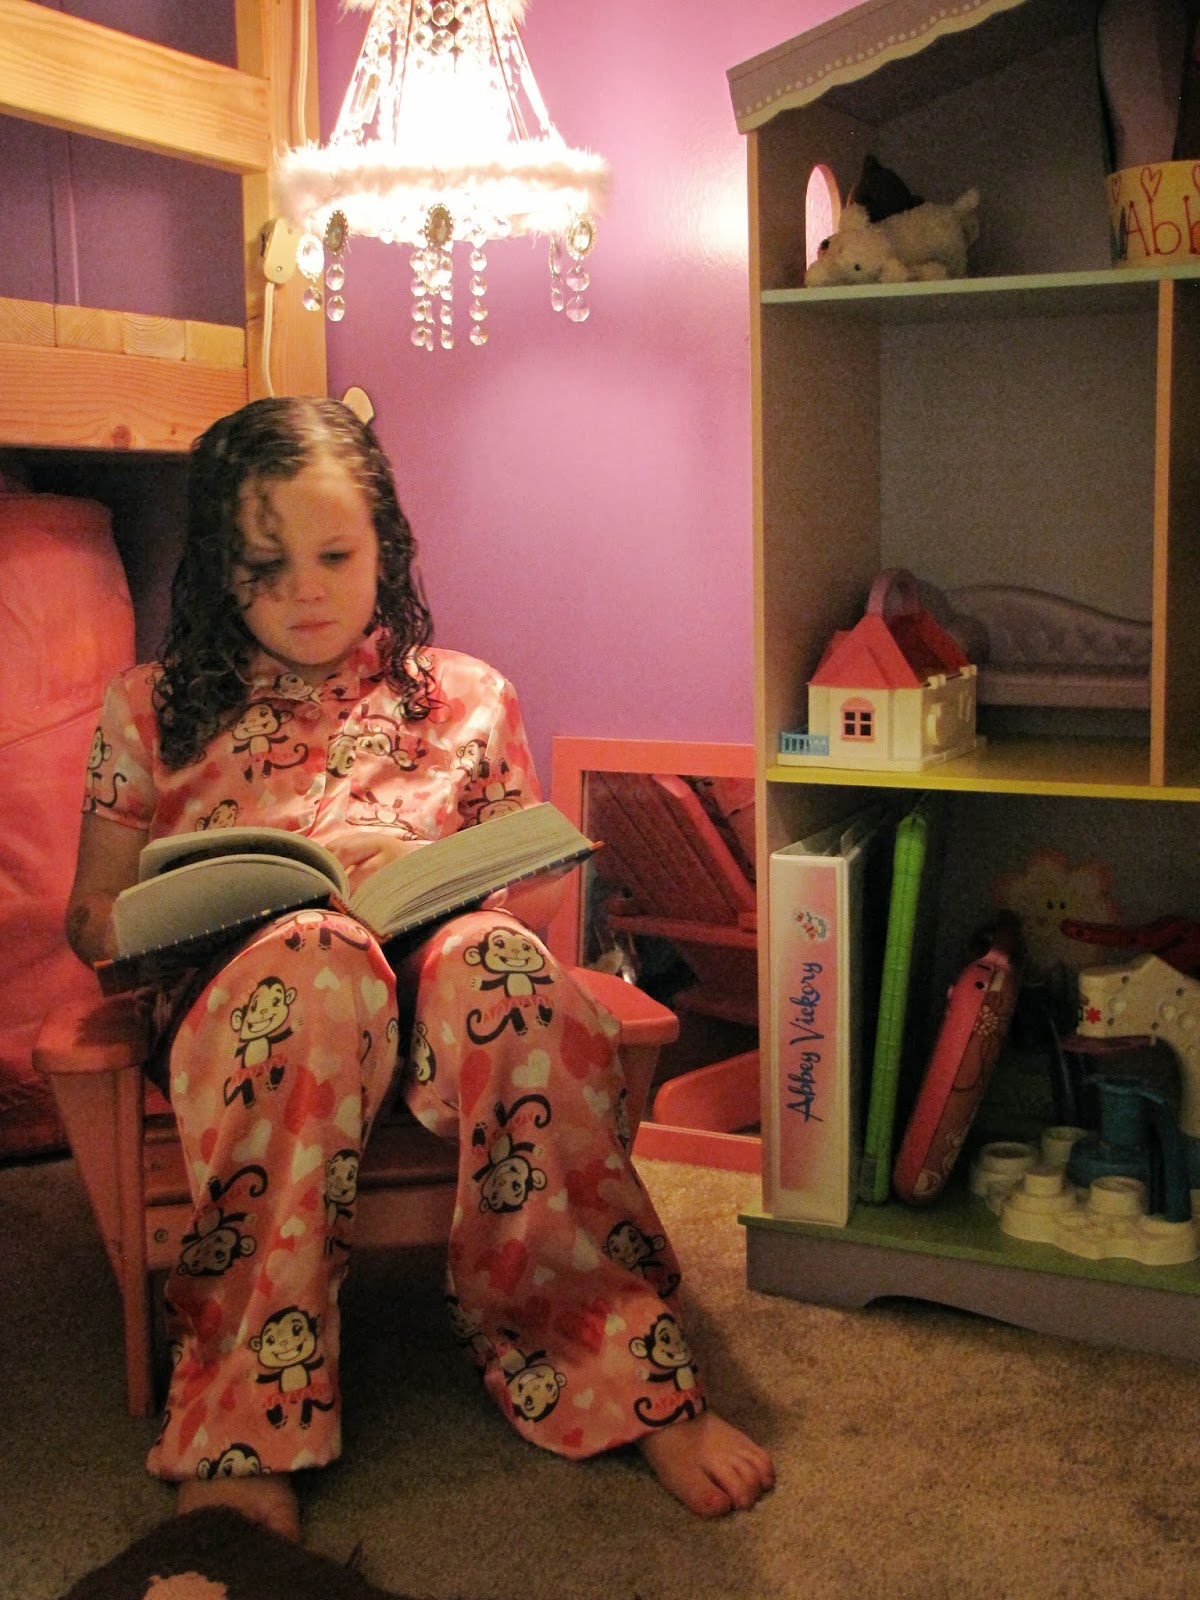
With the recent addition of a loft bed (see earlier post) in my daughter's room came much needed space that we were able to "double up" on. I wanted to turn the cubby space into a reading and play area where she could actually enjoy her room without all the clutter. We made her a reading bench (see earlier post) and I've moved her dollhouse bookshelf under there, next to her bright pink chair. The project that would complete her girly space was a little shabby chic hanging chandelier. I priced those suckers online and they cost waaay more than I wanted to spend. Plus they just weren't little-girly enough for my liking.
So, 'Project Chandelier' was born. First, the frame. I found the perfect thing: the old lampshade from the lamp we used in the nursery for both of our babies. It was one of my favorite lamps. I know... it's a lamp - what's the big deal?? You just don't get it. This thing was perfect for a baby's room... it was small, cream colored, had a 3-way touch base... I could turn it on to the lowest setting for those middle-of the-night diaper changes and rocking sessions. It saddened me the day it kicked the bucket. Now this shade will come full circle and be transformed into a shabby chic chandelier for the now 5-year-old little girl whose hiney it shone on last.
So here we go! This is how the shade looked before...
Then I had to get that cover off. It was glued on there to last 3 lifetimes! Took me about an hour to get it all off. This was the result...
Next, Papa welded the pieces together for us. Then Allen added the socket and wiring and painted it... pink, of course!
Now it's my turn! I get to decorate it and doll it up. I ordered some glass hanging bead crystals from Amazon for $11 for 6 ft of crystals. Yes, I found some cheaper, but these were glass and I knew they're be so sparkly. I mean, who wants a dull, somewhat sparkly chandelier? I wanted this thing to be blingy like diamonds.{I ended up ordering another set of them after applying the first set so it would be fuller.} Once I got the crystals on, I put a drop of hot glue on the ring at the top to secure it to the shade frame so they wouldn't move around. Here it is with the beads on it...
Time to add the pink ribbon and white feather fringe. I got both of these at Joann Fabric for pretty cheap. A little hot glue around the edge of the frame and that's all it took to secure them {my apologies for all the background clutter - the LR was a mess!}...
Allen put the chain on it so we could hang it and here it is!
Needless to say, she LOVES her little space now! Here are a few more pictures of the space now that it's done.
She actually slept on her sleeping bag in the cubby space last night. I woke up this morning to her doing a math workbook by the light of her new chandelier.
I'm sure my next post will have something to do with sweets... besides eating, baking is what I do best. :)
~Susan


No comments:
Post a Comment